
Working with images does not always require advanced editing. Sometimes, you simply want to see how two images Design look when their positions are switched. Maybe you are designing a social media post, creating a product comparison, preparing a presentation, or working on a blog graphic. In these situations, manually moving images around can become an unnecessary hassle.
That is where a 2 Images Swap tool comes in handy.
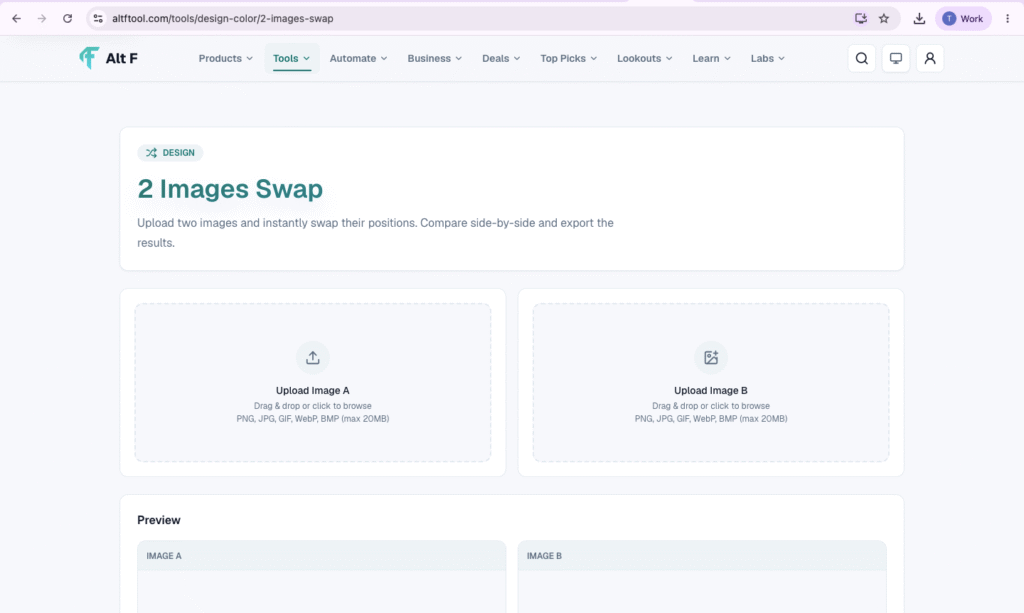
With a 2 Images Swap tool, you can upload two images and instantly exchange their positions. Instead of opening complicated editing software and manually rearranging files, you can make the change in just a few steps. You can then compare both versions side-by-side and decide which arrangement looks better before exporting the final result.
It is a simple idea, but it can be surprisingly useful when you work with visual content regularly.
What Is a 2 Images Swap Tool?
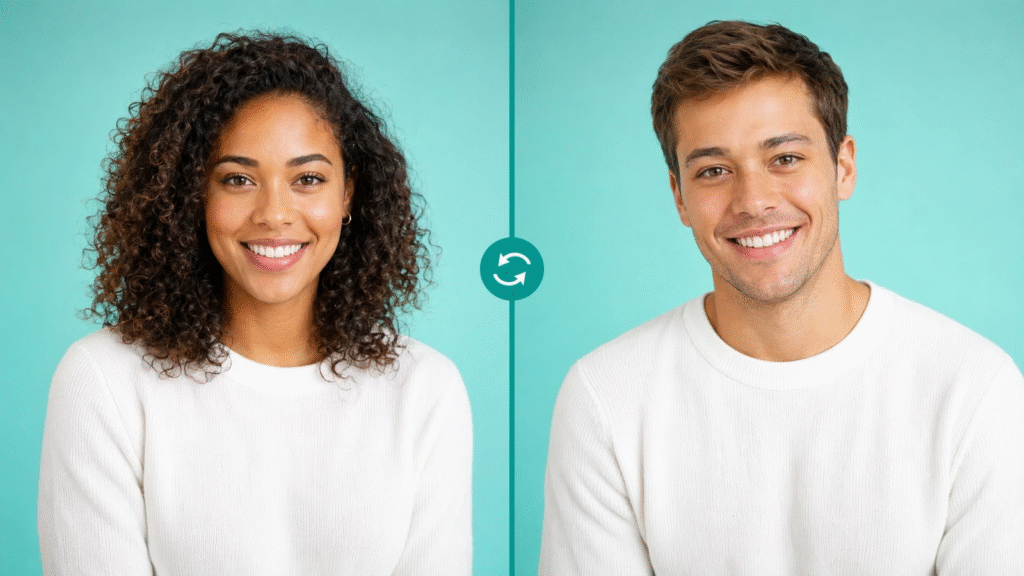
A 2 Images Swap tool is an easy-to-use image utility that lets you exchange the positions of two images.
For example, imagine you have two images:
Image A | Image B
After swapping them, the arrangement becomes:
Image B | Image A
The images themselves remain the same. The only thing that changes is their position.
This can be useful when you are trying to create a better visual balance or simply want to compare two different layouts. Instead of editing both images separately, you can quickly switch their positions and see the difference.
The tool is especially useful for bloggers, designers, marketers, students, social media managers, photographers, and content creators.
The best part is that you do not need advanced photo-editing knowledge. If you know how to upload an image and click a button, you can use a basic image swap tool.
Why Would You Need to Swap Two Images?
At first, swapping two images might seem like a very small task. But when you are creating visual content, image placement can have a bigger impact than you might expect.
Imagine that you have created a graphic with two photos. Everything looks correct, but the design does not feel quite right. One image may be attracting too much attention, or the visual flow may feel awkward.
Before changing the entire design, you can simply swap the two images.
Sometimes, that one small change is enough to make the composition feel more balanced.
A 2 Images Swap tool can be useful for:
- Blog graphics
- Social media posts
- Product comparisons
- Before-and-after visuals
- Marketing banners
- Website graphics
- Presentation slides
- Portfolio projects
- Video thumbnails
- Promotional content
- Comparison images
- Creative experiments
It gives you a quick way to test an alternative without starting over.
How Does the 2 Images Swap Tool Work?
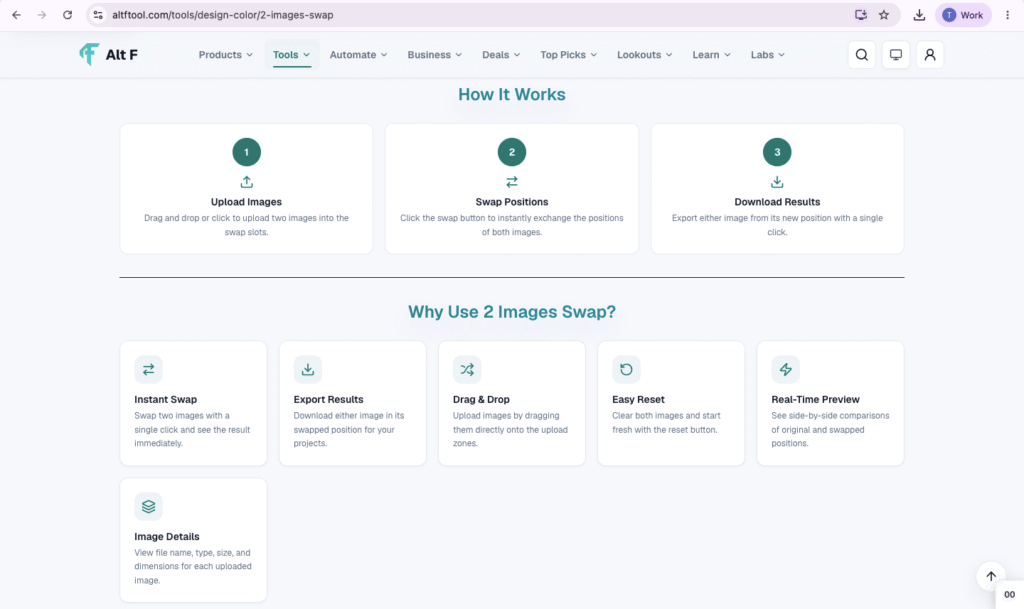
The process is designed to be simple and beginner-friendly.
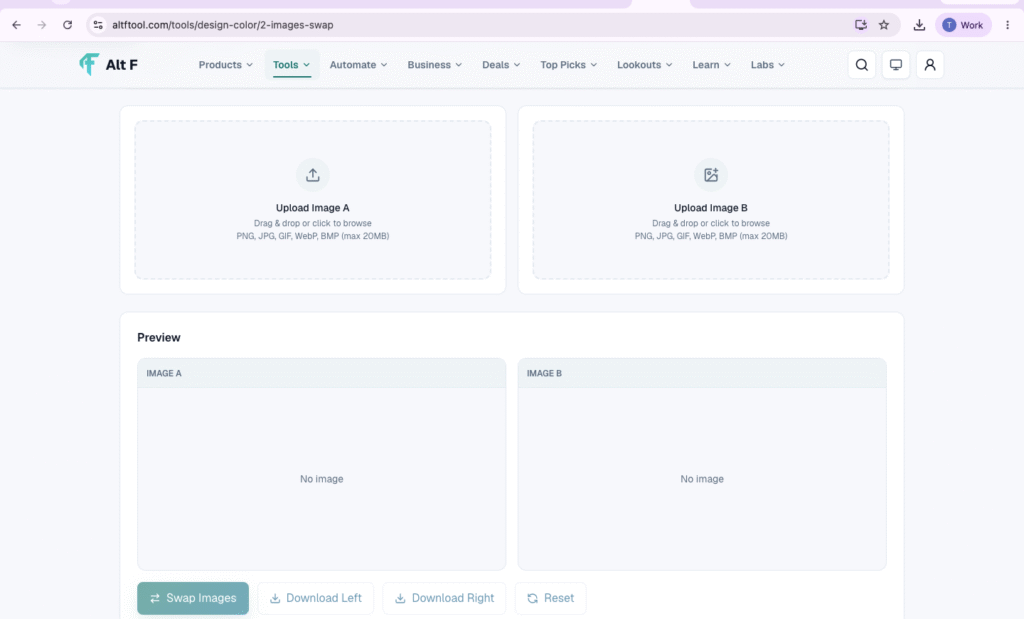
Step 1: Upload Two Images
Start by choosing the two images you want to work with.
You can use photographs, product images, screenshots, illustrations, graphics, or other supported image files.
Once both images are uploaded, you can see how they are currently arranged.
This gives you a starting point before making any changes.
Step 2: Swap the Images
Once your two images are ready, select the swap option.
The tool exchanges their positions automatically.
If the first image was on the left and the second image was on the right, the second image will now appear on the left and the first image will move to the right.
You do not need to drag the images manually or create separate copies.
Step 3: Compare Both Versions
After swapping the images, take a moment to compare the original arrangement with the new version.
This is an important part of the process because the goal is not simply to swap images. The goal is to find the arrangement that works best.
Look at the overall balance, the main subjects, the visual flow, and which image naturally attracts your attention first.
Step 4: Export the Result
Once you are happy with the new arrangement, export the result.
The final version can then be used for your blog, social media content, presentation, website, marketing material, or other creative projects.
The entire process is much quicker than manually rebuilding a layout.
Why Side-by-Side Comparison Is Helpful
One of the most useful features of an image swap workflow is comparison.
When you look at one version at a time, you might not notice small differences. But when you compare the original and swapped arrangements side-by-side, the better option can become much clearer.
You may notice that:
- One image looks better on the left.
- One image creates a stronger first impression.
- A product becomes more noticeable.
- The composition feels more balanced.
- Important details are easier to see.
- The overall design feels less crowded.
- The visual flow feels more natural.
These details can be difficult to judge when you only have one version in front of you.
Side-by-side comparison gives you the chance to make a visual decision rather than simply guessing.
2 Images Swap for Social Media Content
Social media is one of the biggest areas where image placement matters.
When creating a post with two images, you may have a product photo and a lifestyle photo, two different designs, or two related photographs.
The first image viewers notice can influence how they understand the post.
For example, imagine you are promoting a new product. One image clearly shows the product, while the second image shows someone using it.
You could place the product image first, but perhaps the lifestyle image creates a more interesting opening.
Instead of rebuilding the post, you can swap the two images and compare both versions.
This makes it easier to experiment before publishing.
Useful for Before-and-After Images
Before-and-after content is another situation where image swapping can be useful.
Suppose you have:
Before → After
You can quickly test:
After → Before
Both versions contain the same images, but they create different visual experiences.
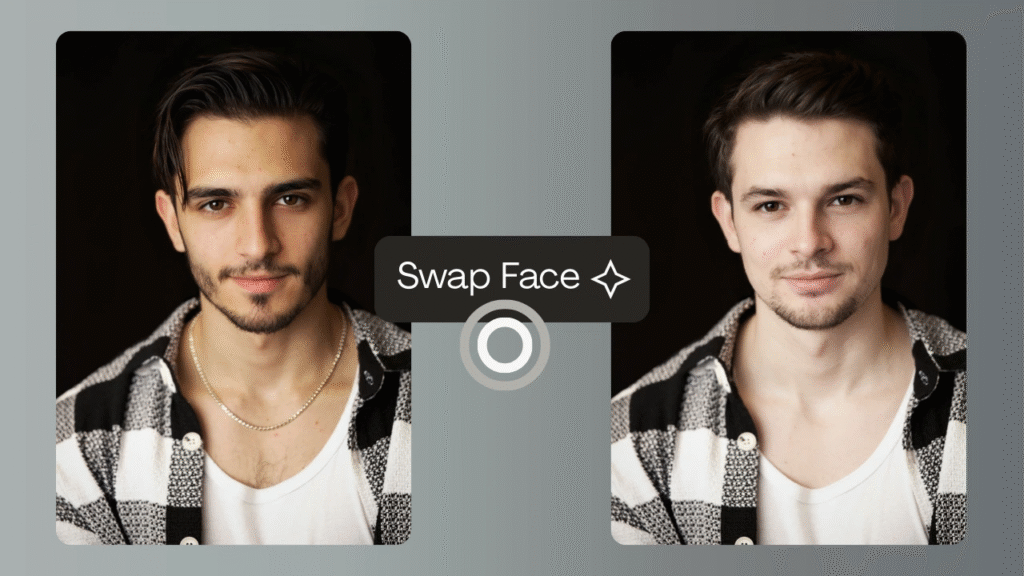
For a transformation post, you may want the viewer to immediately see the result. In another situation, showing the starting point first may make more sense.
By swapping the images, you can test both approaches and decide which one communicates the message more effectively.
This can be useful for:
- Home renovations
- Interior design
- Photography
- Beauty content
- Fitness content
- Cleaning transformations
- Graphic design
- Product improvements
Useful for Product Comparisons
Product comparisons often use two images placed next to each other.
For example, you might compare two smartphones, two laptops, two pairs of shoes, or two pieces of furniture.
You could start with:
Product A | Product B
Then swap them:
Product B | Product A
This can help you decide which arrangement looks cleaner or gives both products equal attention.
It can also be useful when one product has a visually heavier design than the other. Switching positions may create a more balanced composition.
The same idea can be applied to:
- Clothing
- Shoes
- Electronics
- Beauty products
- Food products
- Furniture
- Cars
- Travel destinations
- Services
The products do not change. You are simply testing how their placement affects the overall visual.
Why Simplicity Matters
Professional image-editing software can do almost anything. You can create layers, remove backgrounds, adjust colors, add text, resize images, crop photos, and make detailed changes.
But that flexibility is not always necessary.
If your only goal is to switch two images, using a complicated editor can actually make the task feel harder than it needs to be.
You might have to:
- Open the software.
- Create a new project.
- Upload both images.
- Create or manage layers.
- Move the images manually.
- Adjust their positions.
- Check the layout.
- Export the result.
For a simple swap, that can feel like a lot of unnecessary work.
A dedicated 2 Images Swap tool focuses on the specific task you actually want to complete.
That makes the process faster and easier.
No Advanced Editing Skills Required
Another major advantage of a simple image swap tool is that beginners can use it without learning complicated editing techniques.
You do not need to understand:
- Layers
- Masks
- Advanced selections
- Image compositing
- Transform controls
- Color correction
- Professional editing workflows
The basic idea is straightforward:
Upload → Swap → Compare → Export
That is enough for many everyday image tasks.
For experienced designers, this can also be useful because it eliminates unnecessary steps when they only need to test two arrangements.
Who Can Use a 2 Images Swap Tool?
A 2 Images Swap tool can be useful for many different types of users.
Bloggers
Bloggers can test different image arrangements for featured graphics, comparison articles, and promotional content.
Social Media Managers
Social media managers can quickly create alternate versions of a graphic and choose the arrangement that looks strongest.
Designers
Designers can use image swapping to test different compositions before finalizing a larger design.
Students
Students can experiment with image placement while preparing presentations, assignments, posters, and projects.
Marketers
Marketers can test different layouts for advertisements, product promotions, landing-page graphics, and campaigns.
Content Creators
Content creators can experiment with thumbnails, comparison posts, promotional graphics, and other visual content.
Think About Your Goal
The best-looking arrangement is not always the most effective one.
If you are creating a marketing graphic, you may want the product to attract attention first.
If you are creating an informational graphic, you may want the viewer’s eyes to move naturally from one image to the next.
Always choose the arrangement based on what you want your audience to notice.
2 Images Swap vs. Traditional Image Editing
Traditional editing software is ideal when you need advanced control over your images.
However, a dedicated image swap tool can be more convenient for simple tasks.
Neither option is better for every situation.
If you need to remove a background, adjust colors, add text, or create a detailed composition, traditional editing software may be the better choice.
But if you only need to switch two images and compare the results, a dedicated tool can save you time.
| 2 Images Swap | Traditional Image Editing |
|---|---|
| Quick and simple | More advanced |
| Designed for image swapping | Supports many editing features |
| Beginner-friendly | May require learning |
| Great for quick comparisons | Better for detailed editing |
| Fewer steps | More editing steps |
| Focused on one task | Suitable for complex projects |
A Simple Workflow for Everyday Image Tasks
A good workflow does not need to be complicated.
You can keep the entire process simple:
- Select two images.
- Upload both images.
- Check the original arrangement.
- Swap their positions.
- Compare both versions.
- Decide which arrangement works better.
- Export the final image.
This approach helps you avoid creating unnecessary copies or spending extra time manually moving images.
It is especially helpful when you are working on several visual projects and need to make quick decisions.
Why Simple Image Tools Are Becoming More Useful

People create more visual content today than ever before.
Images are everywhere: websites, blogs, social media, online stores, advertisements, presentations, newsletters, portfolios, and digital campaigns.
Because of this, people often need tools that solve small problems quickly.
You do not always need a full photo editor.
Sometimes, you simply need to resize an image. Other times, you may want to compress it, change its format, remove a background, or swap two images.
Focused tools are useful because they allow you to complete one specific task without navigating through features you do not need.
A 2 Images Swap tool follows the same idea. It focuses on making image rearrangement quick and straightforward.
FAQ’S
1. What are design tools?
Design tools are software or online platforms that help users create graphics, images, layouts, presentations, logos, and other visual content. They can be useful for both beginners and professional designers.
2. What are the best design tools for beginners?
Beginners can start with simple online design tools that offer templates, drag-and-drop features, and easy editing options. These tools make it easier to create professional-looking designs without advanced skills.
3. Are there free design tools available?
Yes, many design tools offer free plans with basic features, templates, and editing options. They can be a good choice for students, content creators, small businesses, and beginners.
4. How can design tools improve productivity?
Design tools can save time by providing ready-made templates, automation features, image editing options, and reusable design elements. This allows users to create and update visual content more efficiently.
5. How do I choose the right design tool?
Choose a tool based on your specific needs, such as graphic design, photo editing, branding, social media content, or presentations. Also consider ease of use, available features, pricing, templates, and the type of designs you want to create.